Setting Up Authorized User in Touchnet
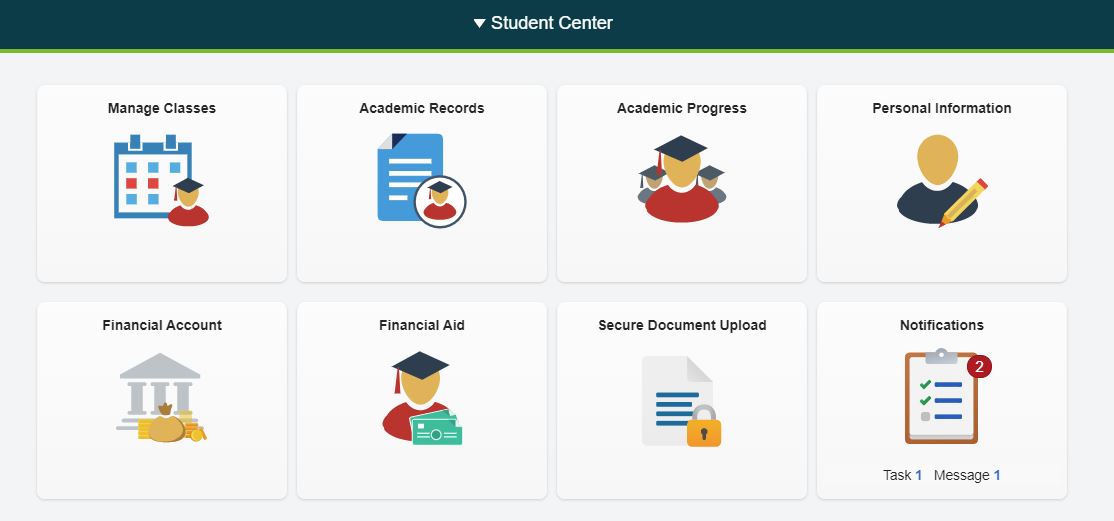
To set-up Access for Additional users to view billing statements, make payments, and view your 1098-T’s complete the steps below. Log-in to Joe’SS using you user ID and password. From the Student Center page navigate to the Financial Account Tile and select the TouchNet link.
You will be re-directed to another log-in webpage, reenter your user name and password to continue to TouchNet. Make sure you are allowing Pop-ups to continue to TouchNet.
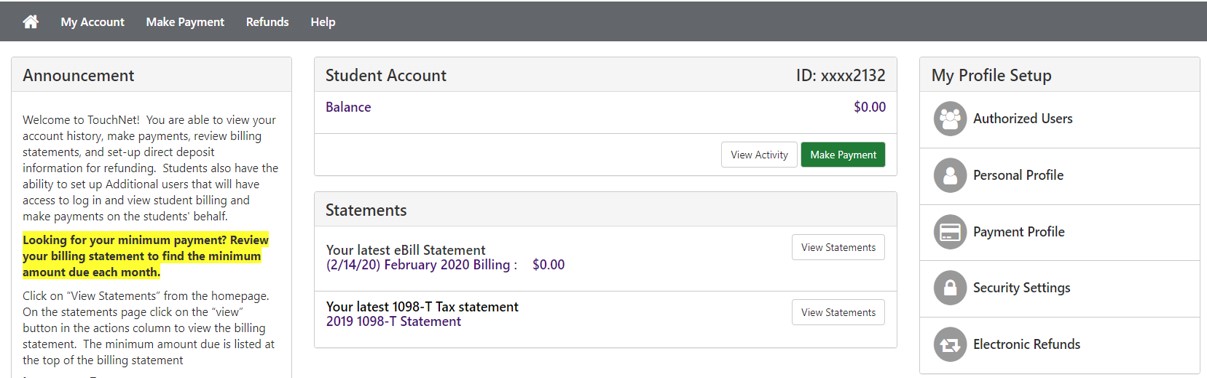
From the TouchNet homepage select Authorized users from the “My Profile Setup” column.
Select the “Add Authorized User” tab and enter the email address of the user you are granting access to. Select the radio button next to the permissions you are granting access for and select continue.
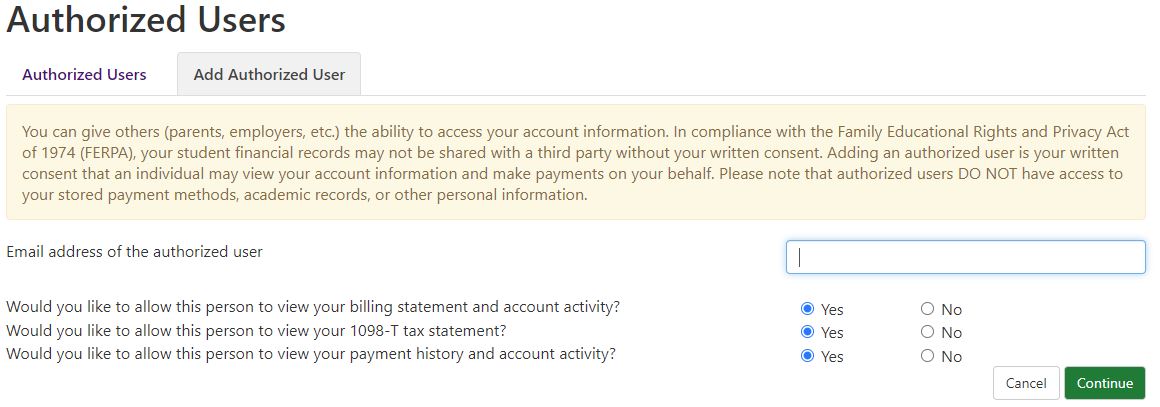
An agreement window will pop up after selecting continue. You need to check mark the box that says “I agree” to continue. You can print the agreement from this window, or later in your TouchNet account. If you do not agree you can cancel setting up the authorized user. You should now be able to see the authorized user set-up on you Authorized Users tab. Instructions will be emailed to the email address you entered for the authorized user to complete set-up.
Additional information on setting up Authorized Users in Joe'SS and granting third party FERPA release can be found on the Registrars webpage:
https://registrar.mst.edu/psinfo/additionalauthorizedaccess/